How To Seal An Roof Top A C Unit

What Are The Benefits Of Rooftop Ac Units Is It An Option For Me Avis Plumbing Heating And Air
Installing A Rooftop Air Conditioner Diy Camper Van Running Off Battery
Adding A Rear Rooftop Ac To A Sprinter Van Sprinter Camper

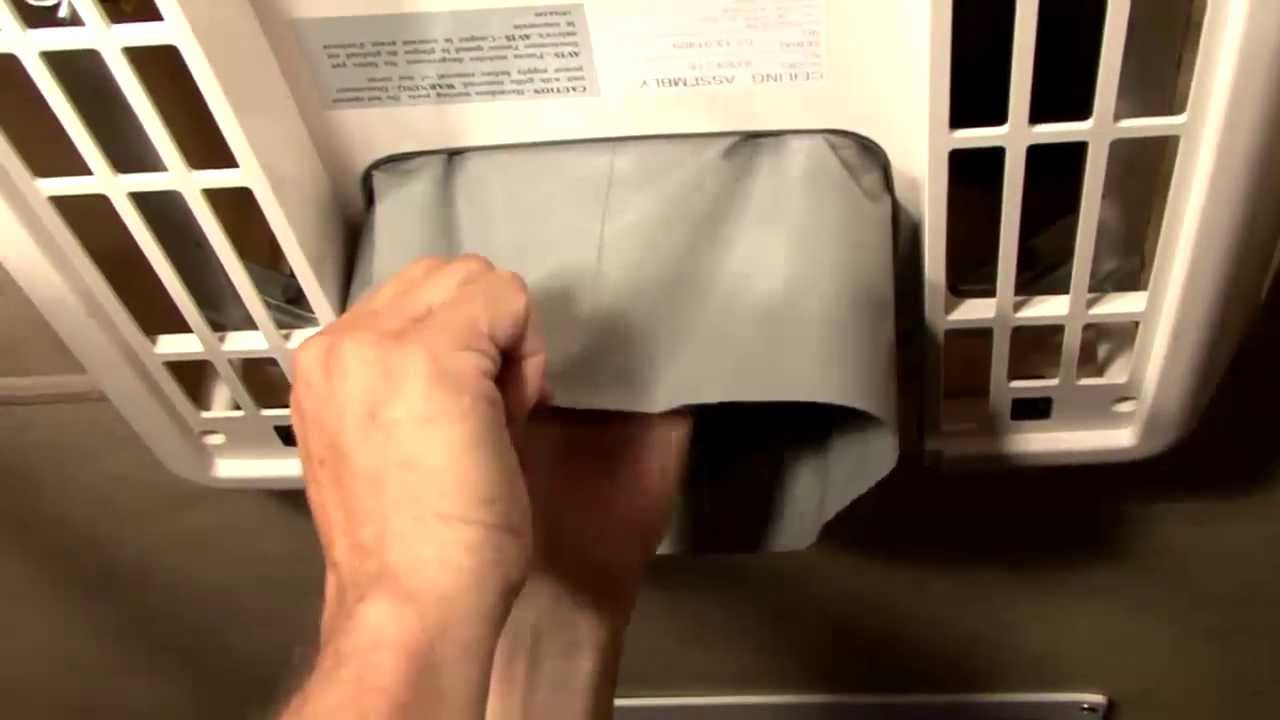
Rv Ac Gasket Replacement Part 1 Youtube

How To Replace An Rv Air Conditioner Gasket Youtube
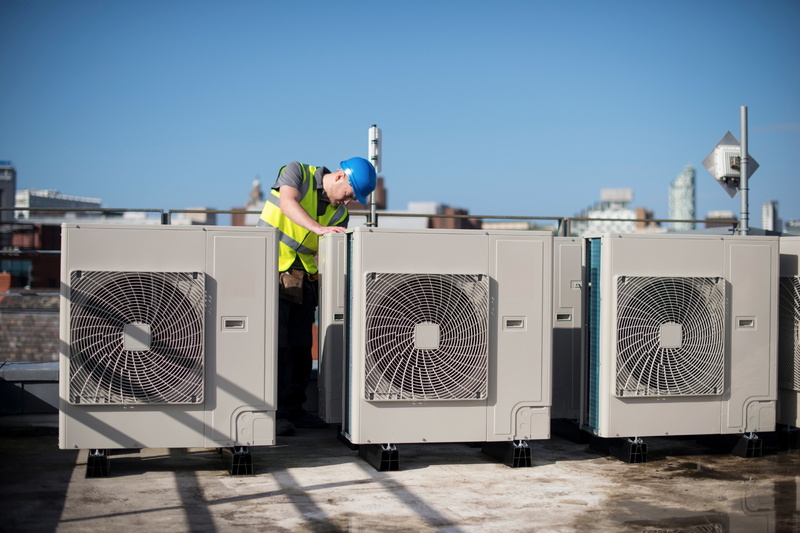
Correctly Placing Hvac Units On Commercial Rooftops Green Link Engineering
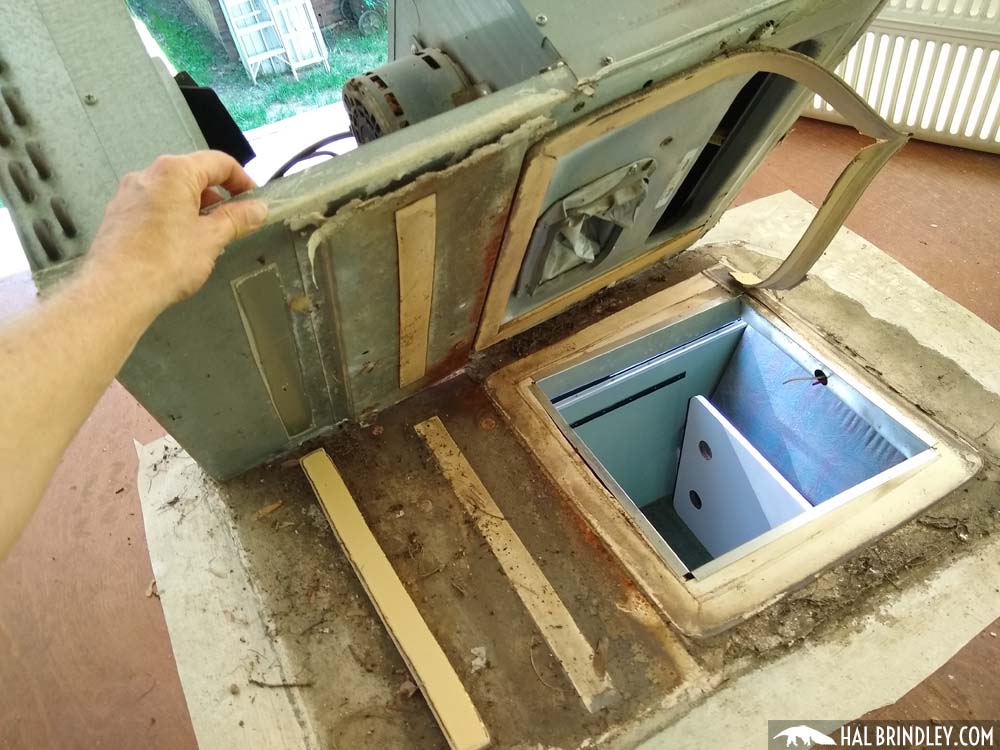
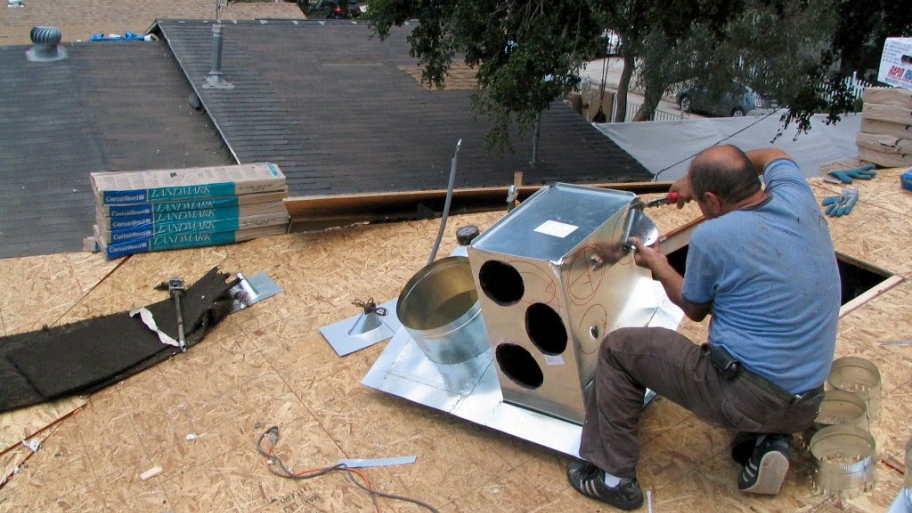
Remove the air conditioning unit placing it on its side and take out the sponge rubber gasket.
How to seal an roof top a c unit.

Multiple Roof Systems Rooftop Package Unit Condensate Piping Youtube

Rooftop Vs Ground Installation Of Ac Outdoor Units Air Conditioner Installation In Rockwall Tx K S Heating And Air Hvac Serivce Dallas Fort Worth Garland Texas Area
Rv Roof Repair Day 2 Removing A Coleman Rv Air Conditioner

Rooftop Air Conditioner Vs A Side Yard Air Conditioner

How To Replace Or Install An Rv Or Travel Trailer Rooftop Air Conditioner Rv Air Conditioner Camper Air Conditioner Air Conditioner Maintenance

Rtu Rooftop Units Explained The Engineering Mindset
How To Install A Coleman Rv Air Conditioner Youtube

Roof Air Leak Repair Trailer Life Rv Air Conditioner Air Conditioner Maintenance Rv Repair
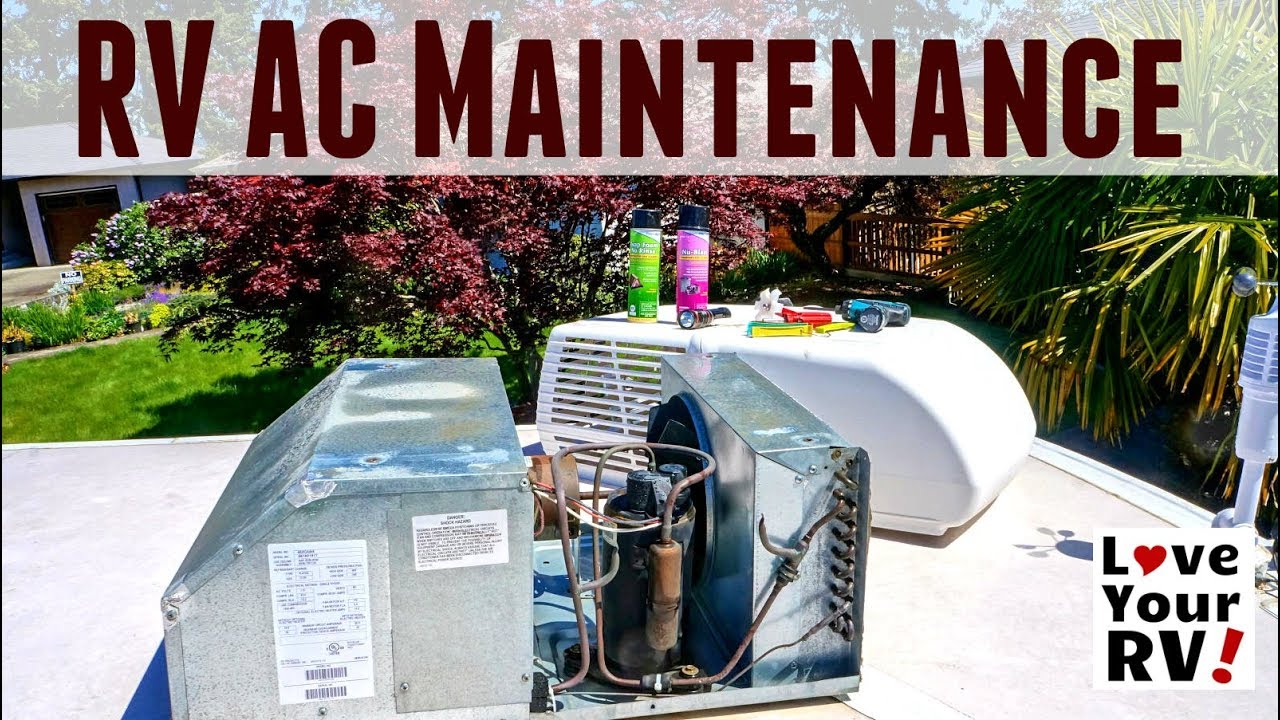
Rv Air Conditioner Maintenance Youtube
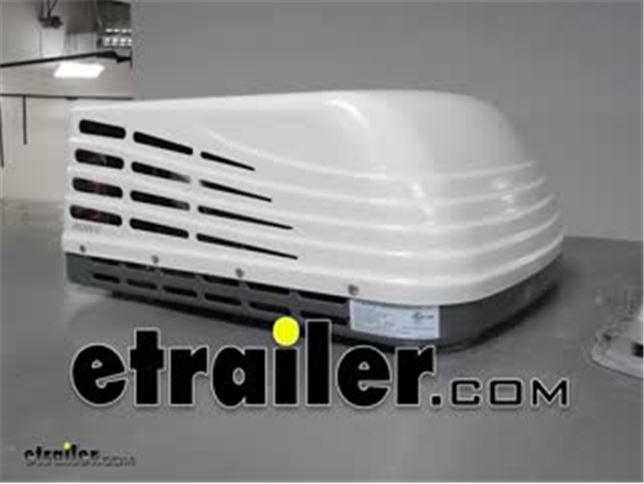
Advent Air Rooftop Rv Air Conditioner With Heat Strip Review Video Etrailer Com
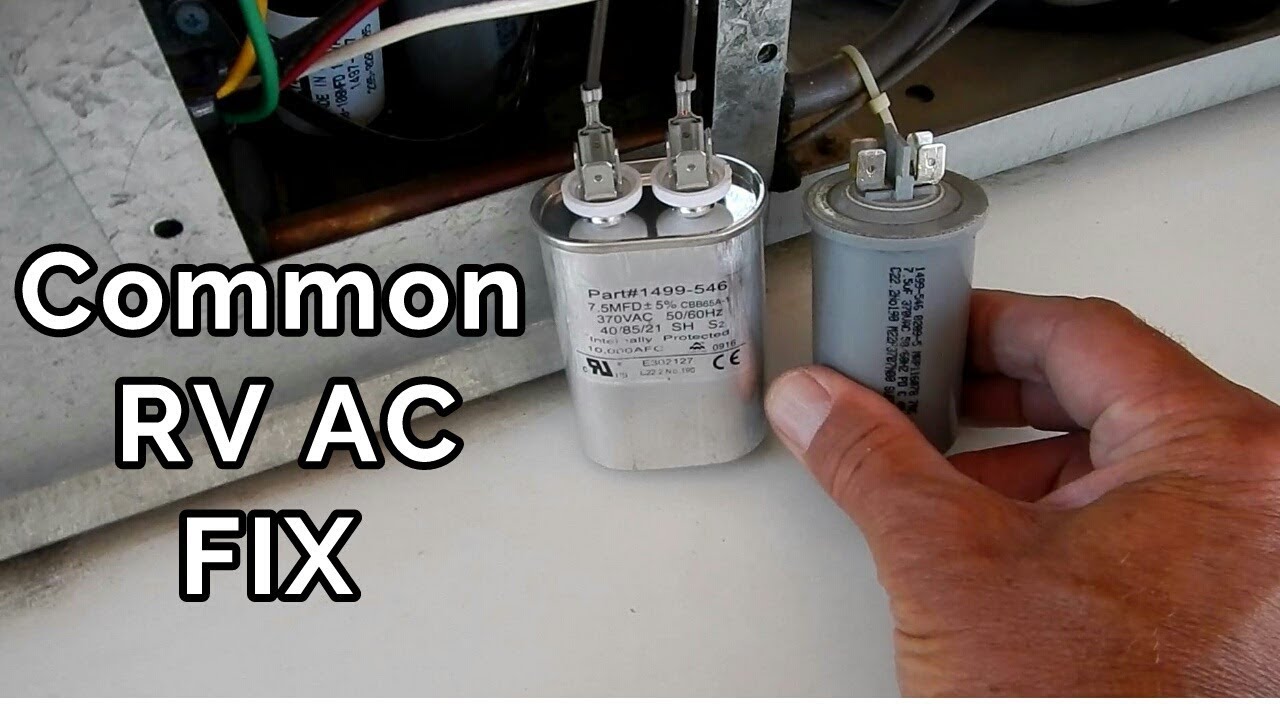
How To Easily Fix Your Rv Air Conditioner Youtube

Inside Brace With The Ac Unit Secured The Four Corner Screws Sandwich The Ac To The Rooftop And Compress The Foam To Cr Ceiling Finishes Rv Stuff Weather Seal

Day Night Gas Electric Package Roof Top Unit Www A1hc Com Commercial Heating Heating And Air Conditioning Gas And Electric
Should You Install A Rooftop A C Unit Angie S List

Rv And Camper Rooftop Air Conditioner Maintenance Troubleshooting And Repair Rv Air Conditioner Air Conditioner Repair Air Conditioner Maintenance
Commercial Hvac Question What Is An Economizer Air Creations Inc

Mitsubishi Condenser Mounted On Roof With Brackets Ductless Heating And Cooling Ductless Heating Brick Decor

Battery Powered Air Conditioner Battery Powered Air Conditioner Portable Air Conditioner Air Conditioner
1

Dometic Duo Therm Brisk 2 Air Rv Air Conditioner 13 500 Btu Rv Air Conditioner Rv Rv Parts

Mini Split A C On A Rv Camper Better Than A Roof Top Or A Window Unit Youtube Cargo Trailer Camper Cargo Trailer Conversion Vintage Camper

Ground A C Units Vs Rooftop Which Is Better Roofing Blog Roofer Advice Roof Articles Phoenix Roofing Team

How To Replace An Rv Roof Vent With Gorilla Glue Waterproof Patch And Seal And A Giveaway Camper Trailer Remodel Vintage Camper Remodel Roof Vents

After Picture Of Roof Repair Around A C Unit Tile Roof With Asphalt Shingle Walking Pad Roof Repair Roofing Solar Power Panels
Source : pinterest.com
